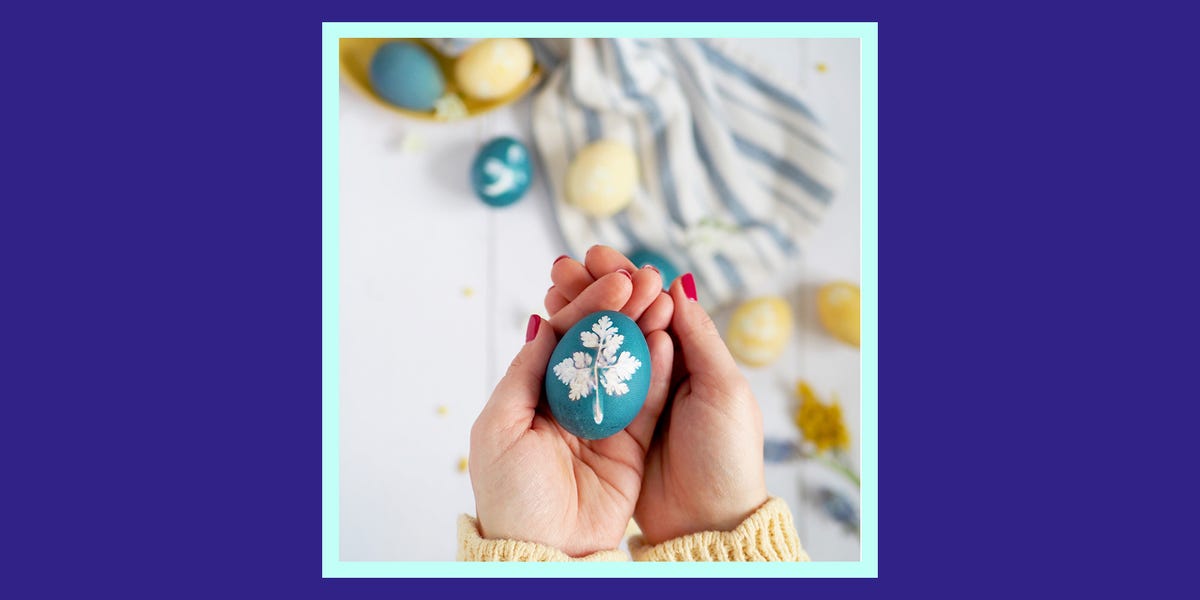
Dyed Easter eggs how-to guide

There’s nothing more guaranteed to put you in the mood for Easter than some pretty home decor that looks spring-like and fresh.
And these dyed eggs are the perfect craft project to make your home look ready for the Easter weekend.
They look lovely piled up in an Easter basket, or as a centrepiece on your table alongside some decoupage Easter eggs or next to your decorated Easter tree.
The dye used to make these eggs is natural, which means that they are perfectly safe to eat. They make a really fun change to your usual boiled egg, a perfect addition to an Easter breakfast if you have family staying for the weekend!
But if you wanted to use them as an Easter decoration that can’t be eaten, why not decorate your eggs even more by adding to the leaf pattern with paint or Posca pens – it’s a really easy way to add pretty swirls, polka dots or flowers.
What you need to make dyed Easter eggs
- Hard boiled eggs
- Red cabbage (for the blue eggs)
- Turmeric (for yellow eggs)
- Large pan
- Sieve
- Container (to go in the fridge)
- Water
- White vinegar
- Small leaves
- Tights
How to make blue dyed eggs
- Chop up a red cabbage and place it in a saucepan on the hob. Add enough cold water so the cabbage is completely covered, then bring the mixture to the boil.
- Turn the heat down and simmer for about 30 minutes. Let the mixture cool, then pour it through a sieve into a container, and discard of the cabbage. Add three tablespoons of white vinegar to the mix.
- Cut a piece of the tights large enough for an egg, tie a knot at one end then pop in an egg. Take a leaf, position it on the egg, then carefully place the tights material over the top to hold the leaf in place – it can be quite fiddly! Then tie the knotted and loose ends together at the back nice and tightly.
- Place the eggs carefully into the dye, then put the container in the fridge. For a dark blue colour leave the eggs overnight and for a light blue colour, 3-5 hours.
- Remove your eggs from the dye and leave them to completely dry. Once dry, undo the knot at the back and peel off the leaf to reveal a beautiful, natural design. The eggs will be safe to eat, as the dye is completely natural.
TIP: Avoid using thick or textured leaves. Flat leaves work best and give the clearest end result.
How to make yellow dyed eggs
- Pour some boiling water into a deep bowl (big enough to hold your eggs). Add six tablespoons of turmeric and mix in three tablespoons of white vinegar.
- Follow steps 3, 4 & 5, as for Blue Eggs above, to create beautiful yellow eggs.
TIP: Try taking the eggs out at different times to make ombre eggs.


